A dripping tap is easy to ignore until the sound follows you from room to room. It is also a sign that something inside the tap is no longer sealing properly. The good news is that many drips come from a small, replaceable part, such as a washer, O-ring or cartridge.
If you want to know how to stop a dripping tap, start by identifying the tap type and where the water is coming from. A traditional hot or cold tap usually has a rubber washer inside. A modern mixer or quarter-turn tap is more likely to use a ceramic cartridge. The right fix depends on that difference.
Why you should fix a dripping tap promptly
A slow drip may look minor, but it can waste a surprising amount of water over weeks and months. It can also leave limescale marks, stain ceramic, damage worktops and make existing plumbing wear worse.
There is another practical reason to act early: tap faults often start small. A washer hardens, a seal splits or a cartridge begins to let water through. If ignored, you may later find the tap becomes harder to turn off, leaks around the handle or starts dripping faster.
First, work out what type of tap you have
Before buying parts, check the tap design. This prevents one of the most common DIY mistakes: replacing a washer in a tap that does not have one.
A compression tap usually has separate hot and cold controls that turn several times from fully closed to fully open. Inside, a spindle pushes a rubber washer down onto a valve seat. If the washer is worn, split or flattened, water can pass through even when the tap is turned off. This is where a dripping tap washer replacement is often the correct fix.
A ceramic disc tap usually turns only a quarter or half turn. Many single-lever mixer taps also use ceramic cartridges. Instead of a rubber washer being pushed down, two ceramic discs line up or close to control flow. If the cartridge wears, cracks or gets blocked with grit, the tap may drip from the spout.
A mixer tap can use either system, depending on its age and design. If it has two handles that turn several times, it may still use washers. If it has a lever or very short handle movement, expect a cartridge.
Common causes and the fix that usually works
Use the symptoms to narrow down the cause before dismantling anything.
| Symptom | Likely cause | Usual fix |
|---|---|---|
| Water drips from the spout when the tap is off | Worn washer or faulty cartridge | Replace the washer in a compression tap, or replace the cartridge in a ceramic tap |
| Water leaks from around the handle | Worn gland seal, damaged O-ring or loose retaining nut | Tighten gently or replace seals |
| Water appears around the base of a mixer spout | Perished O-rings | Replace the spout O-rings and lubricate with suitable silicone grease |
| Tap still drips after a new washer | Pitted valve seat, wrong washer size or debris | Clean or reseat the valve seat, then refit the correct washer |
| Drip started after plumbing work | Debris in cartridge or pressure change | Flush the tap, inspect the cartridge and check isolation valves |
Tools and parts you may need
You do not need a large toolkit for a basic tap repair, but you do need to work carefully. Gather everything before turning the water off.
- Adjustable spanner or correct-sized spanners
- Flathead and crosshead screwdrivers
- Allen key if the handle has a grub screw
- Cloth or towel to protect the sink and tap finish
- Replacement washer, cartridge or O-rings
- Plumber’s grease suitable for potable water seals
- Small container for screws and tap parts
If you are replacing a washer, take the old washer to a plumbing merchant if you are unsure about the size. Basin taps and bath taps often use different washer sizes, and forcing the wrong part can cause another leak.
Safety checks before dismantling a tap
Always isolate the water first. Many sinks have small isolation valves on the pipework underneath. Turn the valve slot so it sits across the pipe, then open the tap to check the water has stopped. If there are no isolation valves, you may need to turn off the main stopcock.
Put the plug in or cover the waste outlet with a cloth so screws and small parts cannot fall down the drain. If the tap is near electrical sockets, appliances or lighting, keep the area dry and stop work if water is escaping unexpectedly.
Do not use excessive force. A stiff tap head, seized nut or corroded fitting can snap if forced, especially on older pipework. If something will not move, it is often safer to get professional help than to turn a small drip into a leak under pressure.
How to fix a compression tap with a dripping tap washer
If your tap turns several times and drips from the spout, the washer is the first suspect. Here is the typical process.
- Turn off the water supply: Use the isolation valve under the sink or the main stopcock, then open the tap to drain any remaining water.
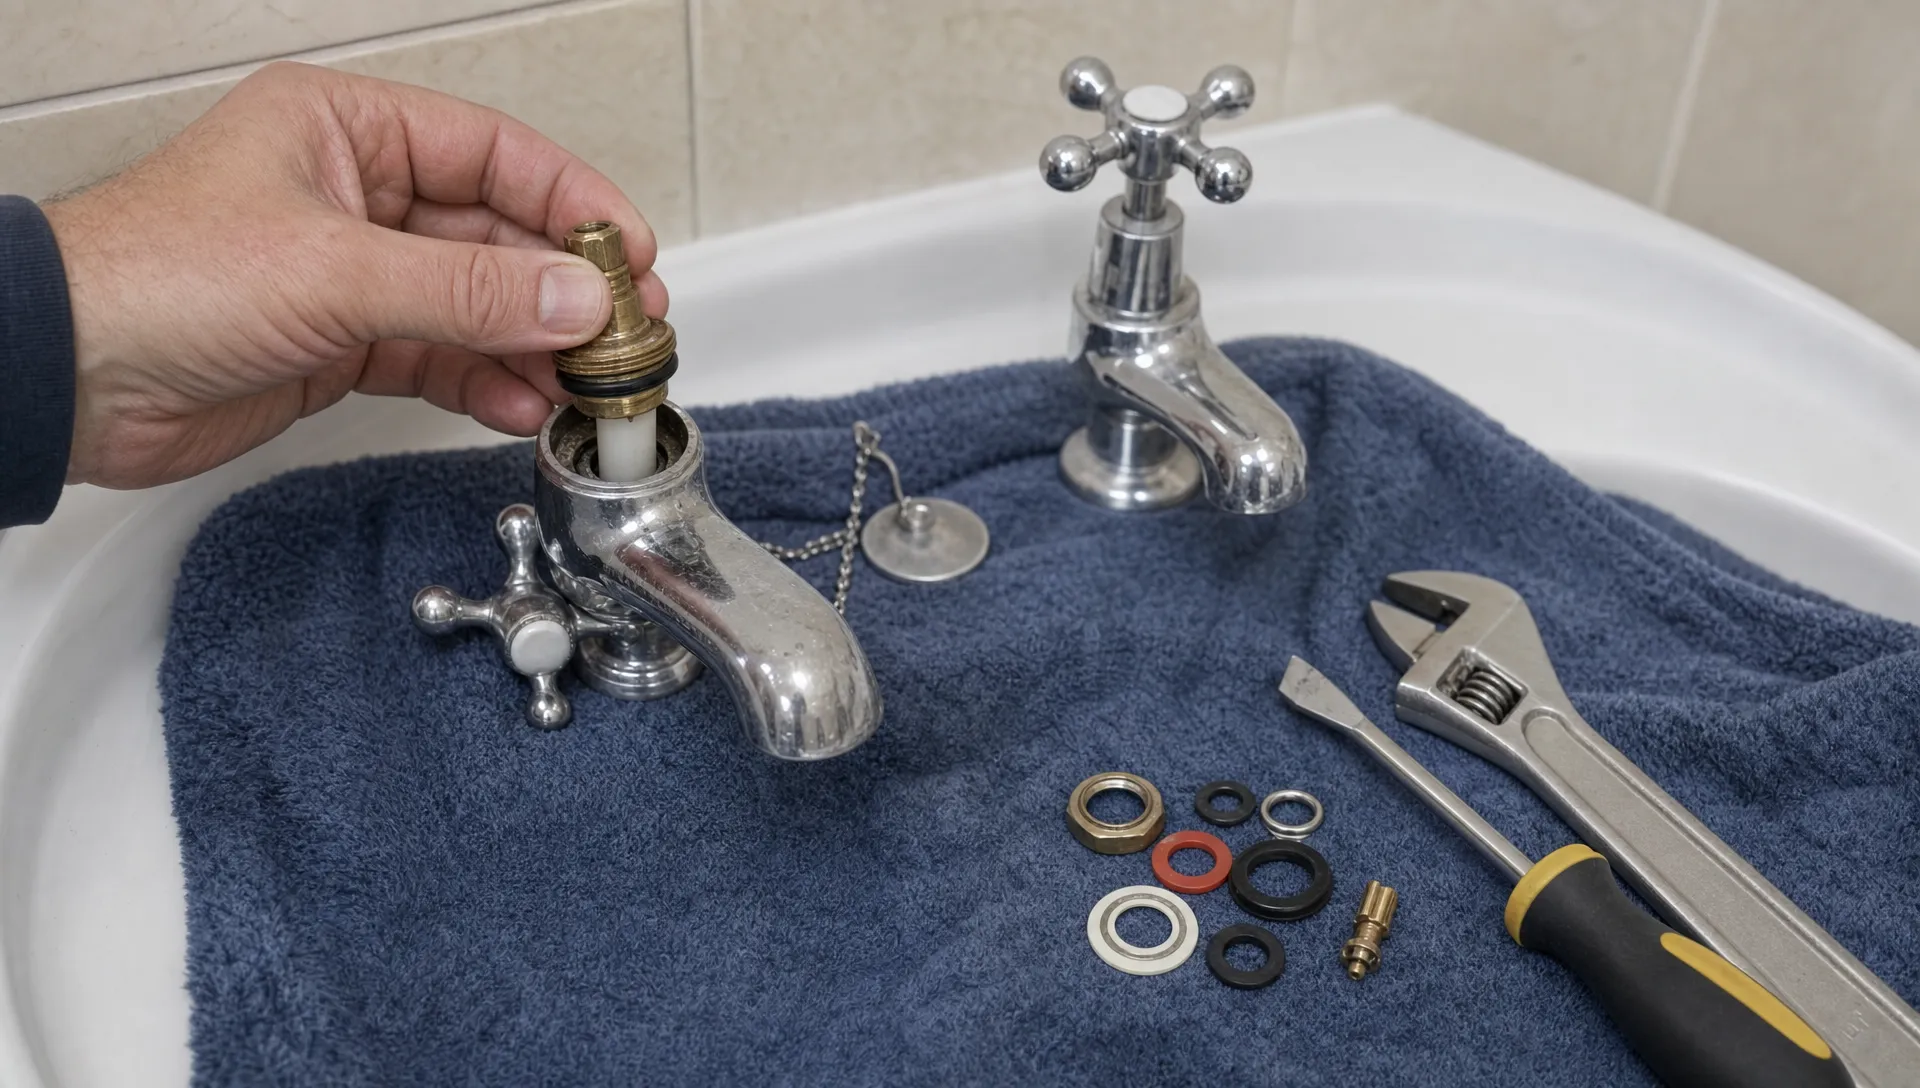
- Remove the tap head: Lift off the decorative cap if there is one, undo the screw and pull the handle away. Some handles have a small grub screw at the side.
- Unscrew the tap body: Use a spanner to loosen the valve section. Hold the tap steady to avoid twisting pipework below.
- Inspect the washer: The washer sits at the bottom of the valve. If it is cracked, flattened, hardened or misshapen, replace it with an identical size.
- Check the valve seat: Look inside the tap body where the washer closes. If it is rough, pitted or covered in scale, the new washer may not seal properly.
- Reassemble and test: Refit the valve, handle and screw. Turn the water back on slowly and check for drips at the spout and around the handle.
If the tap still drips after the washer has been replaced, the valve seat may need cleaning or reseating. In hard water areas, limescale can stop even a new washer from sealing evenly.
How to fix a ceramic cartridge tap
A ceramic tap usually needs a replacement cartridge rather than a washer. The challenge is matching the cartridge correctly. Size, spline count, height and hot or cold orientation can vary between manufacturers.
After isolating the water, remove the handle and retaining nut, then lift out the cartridge. Take clear photos before removing parts so you can reassemble them in the right order. If the cartridge is scaled up, cracked or visibly worn, replace it with an exact match.
Once fitted, turn the water back on gradually. If the tap still drips, do not keep tightening the handle. Over-tightening can damage the new cartridge or the tap body.
What if the leak is around the handle or tap base?
A drip from the spout points to the internal shut-off mechanism. A leak around the handle or base usually points to seals.
If water appears around the handle when the tap is running, the gland seal or cartridge seal may be worn. Sometimes a retaining nut has simply loosened, but tighten it only gently. If it still leaks, replace the seal rather than relying on force.
If a swivel mixer spout leaks around its base, the O-rings under the spout may have perished. Remove the spout according to the tap design, replace the O-rings like for like and apply a small amount of suitable silicone grease before refitting.
When the problem may not be the tap
Sometimes the tap gets blamed because it is the most visible fitting. Check underneath the sink while the tap is running and while it is off. Look for moisture on flexible hoses, isolation valves, compression joints and the waste trap.
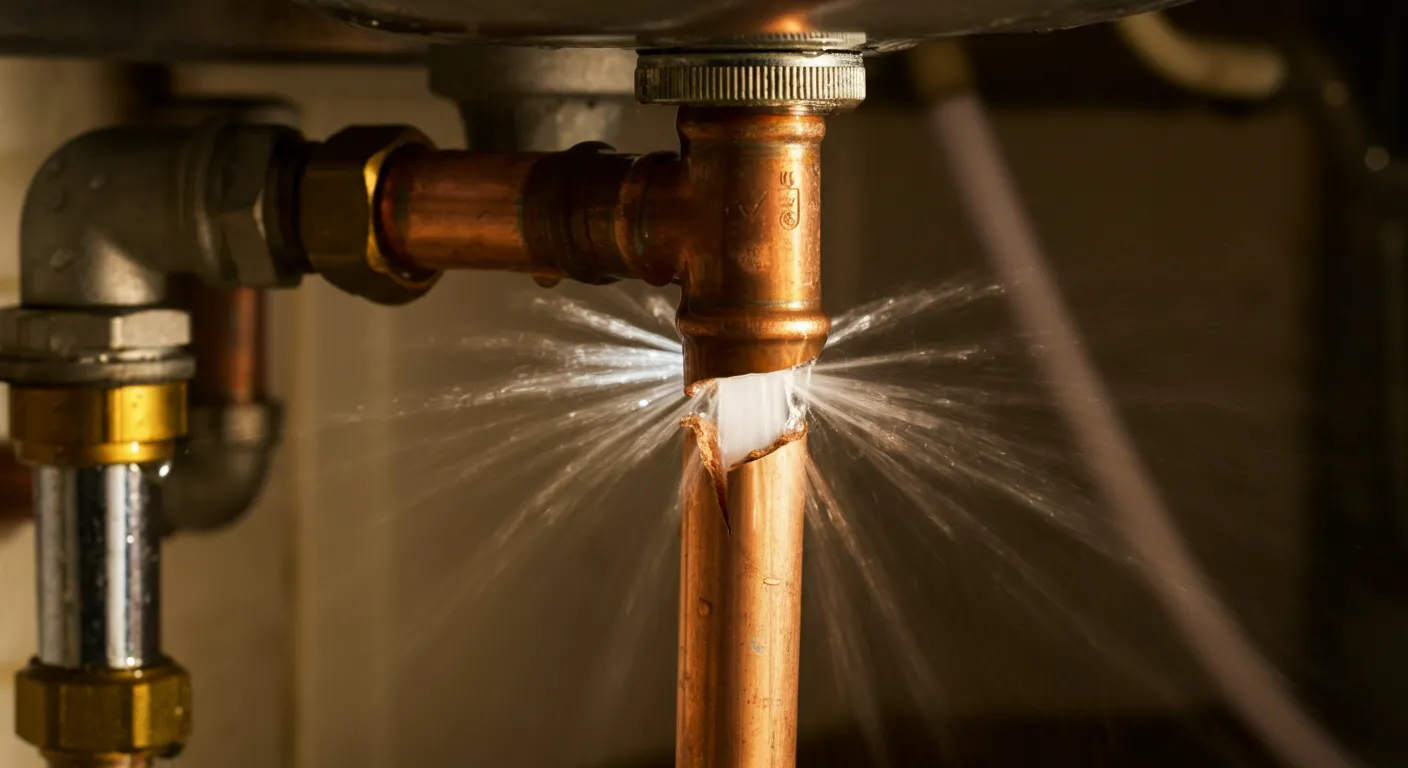
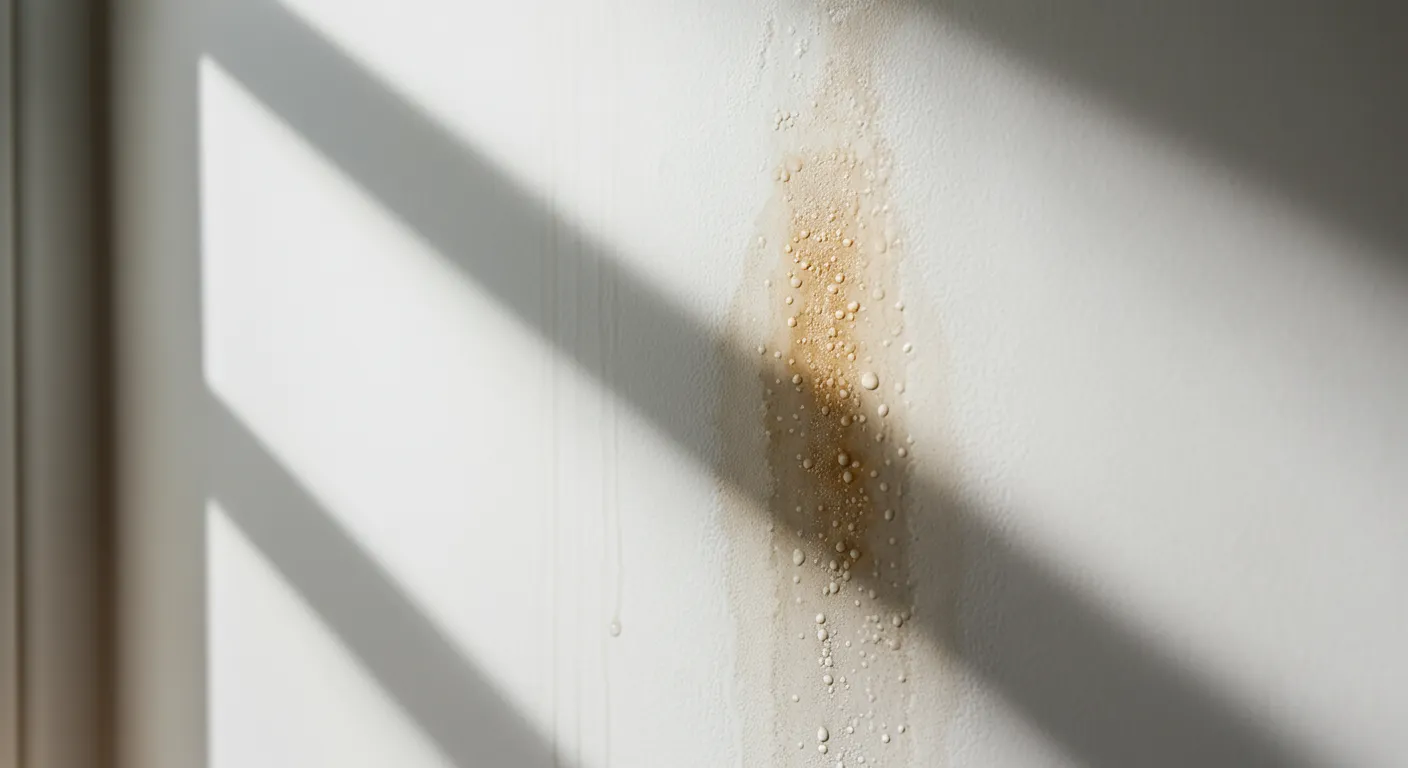
If you find damp patches, musty smells, bubbling paint or a water meter moving when everything is turned off, the issue may be a hidden leak rather than a simple tap fault. TradesLocal has a separate guide to the signs you have a hidden water leak at home if you suspect water is escaping elsewhere.
It is also worth thinking beyond plumbing if water marks appear on ceilings, external walls or around loft spaces. Home repairs are safest when the right trade investigates the right problem. A plumber is the right choice for supply pipe and tap leaks, while specialist roofing contractors such as roof renovation and inspection firms focus on roof coverings, insulation and weather-related water ingress.
When to call a plumber
A straightforward washer replacement can be a manageable DIY job, but not every dripping tap is simple. Call a plumber if the isolation valves do not shut off, the tap is seized, pipework moves when you apply pressure, water is leaking below the sink or you cannot identify the correct cartridge.
You should also get help if the tap is part of a more complex system, such as a concealed bath mixer, wall-mounted tap, boiling water tap or shower mixer. These can involve hidden fittings and specialist parts.
If the drip has become a steady flow, turn off the water supply and treat it as urgent. Do not wait for normal working hours if water is spreading into cabinets, flooring or electrics.
How to prevent taps from dripping again
Good habits can extend the life of tap parts. Turn taps off firmly but gently. For compression taps, forcing the handle tight every time can crush the washer and wear the valve seat. For ceramic taps, pressure on the lever does not improve the seal and may damage the cartridge.
In hard water areas, clean limescale around the spout and tap body regularly. Limescale can affect moving parts and make seals fail sooner. If you notice grit or debris after plumbing work in your area, run taps briefly and clean any removable filters or aerators.
It is also worth checking under sinks every few months. A slow leak at an isolation valve or flexible hose can go unnoticed until it damages the cupboard base.
Frequently Asked Questions
Can I stop a dripping tap without turning the water off? No, not safely for an internal repair. You can reduce mess by closing the tap, but you must isolate the water before removing handles, valves, washers or cartridges.
How do I know if my dripping tap needs a washer or cartridge? If the handle turns several times, it is usually a compression tap with a washer. If it turns only a quarter turn or uses a single lever, it probably has a ceramic cartridge.
Why is my tap still dripping after changing the washer? The washer may be the wrong size, the valve seat may be pitted or scaled, or debris may be preventing a clean seal. The tap may also be a cartridge design rather than a washer design.
Is a dripping tap an emergency? A slow drip is not always an emergency, but it should still be fixed promptly. If the drip becomes a constant flow, water leaks below the sink or you cannot isolate the supply, call for urgent help.
Can limescale cause a dripping tap? Yes. Limescale can roughen the valve seat, restrict cartridges and stop seals from closing properly. This is especially common in hard water areas.
Need help stopping a dripping tap?
If you would rather not dismantle the tap yourself, or the leak is getting worse, TradesLocal can help with qualified plumbing support across the UK. For fast help with leaking taps, sinks, toilets and related fittings, request assistance through our tap, sink and toilet repairs service page.