Why Acting Quickly on a Roof Leak Matters
A roof leak might start as a small damp patch on your ceiling, but left untreated, it can escalate rapidly. Water ingress causes structural timber to rot, insulation to become saturated and ineffective, and mould to take hold — all of which are costly to put right. In the worst cases, prolonged leaks can compromise the structural integrity of your roof and lead to dangerous ceiling collapses.
For UK homeowners, the wet climate makes prompt action even more important. Rain doesn’t stop for long, and a minor leak during one downpour can become a major problem by the next. This guide walks you through how to safely locate a roof leak, understand what you’re looking at, and take sensible steps to protect your home while you arrange professional repairs.
Common Causes of Roof Leaks
Before you start investigating, it helps to know what you’re looking for. The most frequent culprits behind roof leaks in UK homes include:
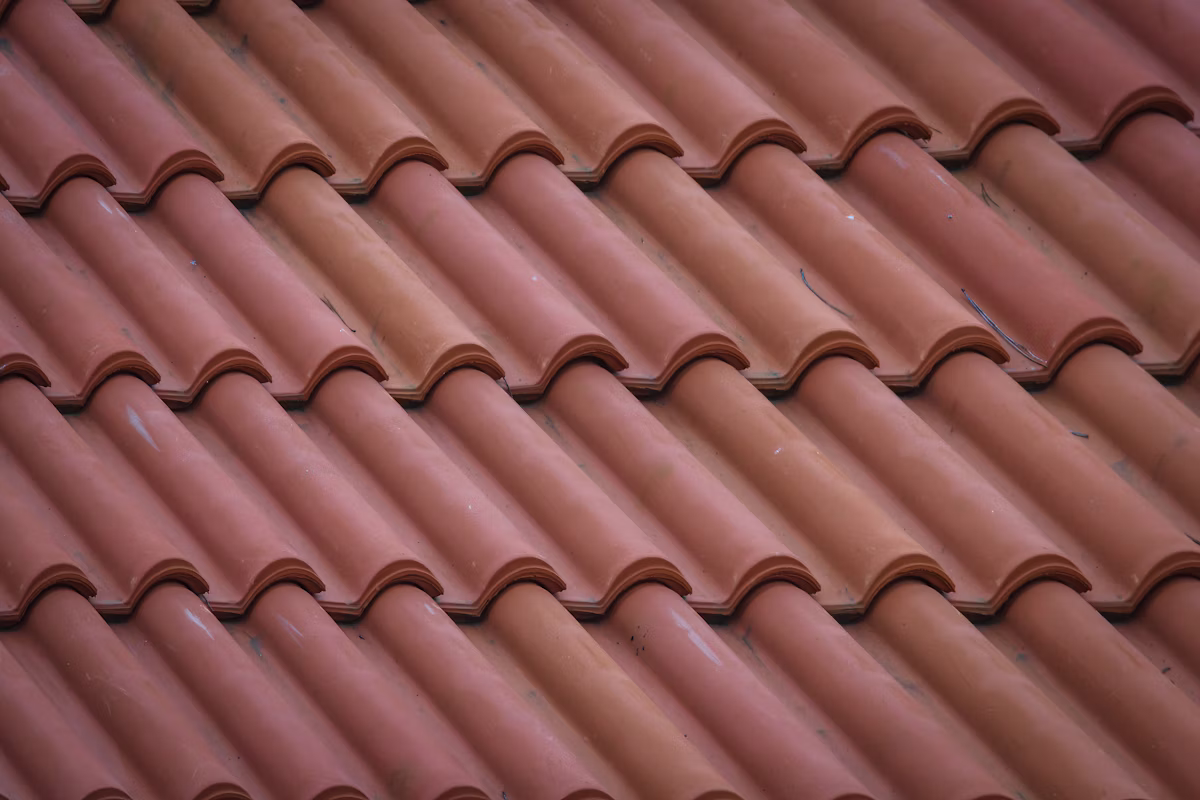
Damaged or Missing Tiles and Slates
Broken, cracked, or missing tiles are one of the most common causes of roof leaks. High winds, frost damage, and general wear over time can all dislodge or crack tiles, leaving the felt and timber beneath exposed to the elements.
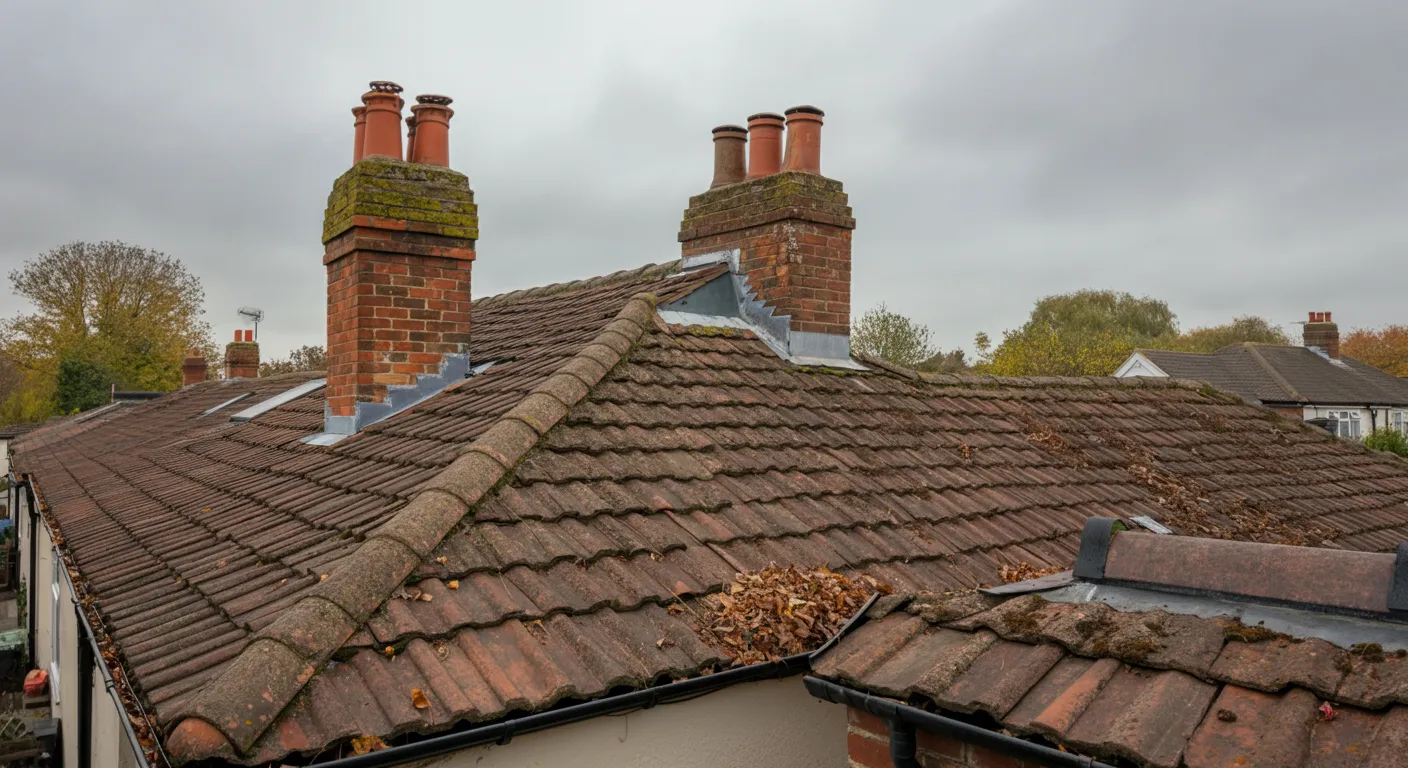
Flashing Failures
Flashing is the thin strip of metal (usually lead or aluminium) used to seal joints around chimneys, skylights, and where the roof meets a wall. Over time, flashing can lift, crack, or corrode, creating a direct route for water to enter. Failed flashing is a very common source of leaks that can be tricky to spot from the outside.
Roof Valleys
The valleys — the V-shaped channels where two roof slopes meet — carry a significant volume of rainwater. If the valley lining deteriorates or becomes blocked with debris, water can back up and seep beneath the tiles.
Skylights and Rooflights
The seals and flashings around skylights and rooflights are vulnerable to deterioration. Even a small gap in the sealant can allow water to track inside, often appearing some distance from the actual entry point.
Blocked or Damaged Gutters
While gutters aren’t technically part of the roof structure, blocked or broken gutters can cause water to overflow and saturate the fascia boards, soffits, and even the roof edge. Over time, this persistent dampness can work its way into the roof space.
How to Safely Inspect from Inside the Loft
The safest first step is always to inspect from inside your loft rather than climbing onto the roof. Before you go up, take a few important precautions.
Safety Precautions
- Use a good torch — loft spaces are dark, and you need to see clearly. A head torch keeps your hands free.
- Walk only on boards or joists — never step between the joists onto the plasterboard ceiling below. It will not support your weight and you risk a serious fall through the ceiling.
- Wear a dust mask — loft insulation (particularly older fibreglass or mineral wool) can irritate your lungs and skin.
- Take someone with you — or at least let someone know you’re going up, in case you need assistance.
Inspecting in Daylight vs After Rain
Ideally, inspect the loft both during or shortly after heavy rain (when a leak is active) and in daylight. During rain, you may be able to see or hear water dripping and pinpoint the entry point directly. In daylight, look for any points where daylight is visible through the roof structure — these are obvious weak spots even if it isn’t currently raining.
What to Look For
Once you’re safely in the loft, here’s what to examine carefully:
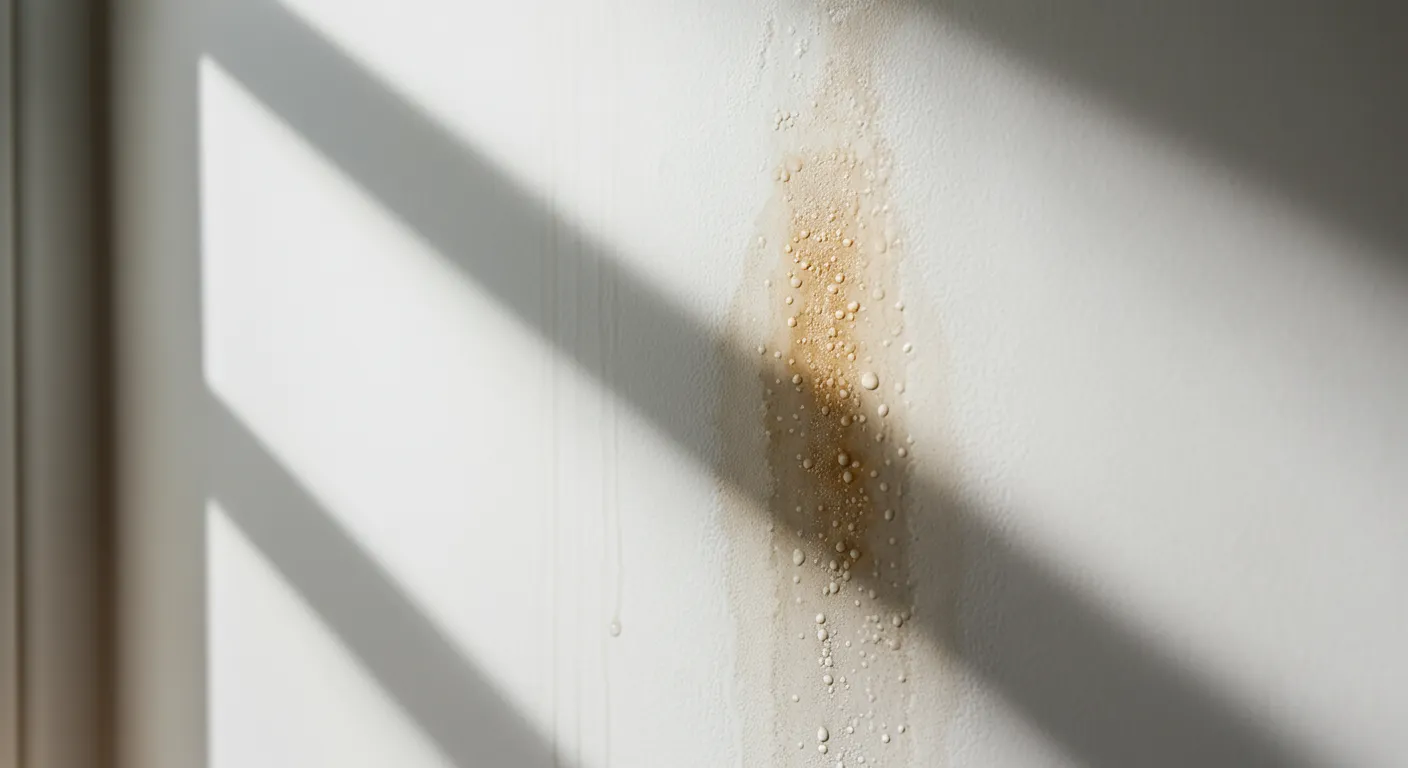
Water Stains on Rafters and Felt
Look for dark tide marks, streaks, or staining on the timber rafters and the roofing felt beneath the tiles. These stains indicate where water has been running or pooling. Fresh stains will appear darker and may still be damp to the touch.
Damp or Saturated Insulation
Insulation that has absorbed water will feel heavy, compressed, and cold. Saturated insulation loses its thermal properties and can harbour mould. If you find wet insulation, note its location carefully — it’s a strong indicator of where water is entering.
Mould or Mildew Growth
Black or green mould on timber, felt, or insulation is a sign of persistent moisture. Even if there’s no active drip, mould growth tells you that water has been getting in over a period of time.
Daylight Visible Through the Roof
In daylight, switch off your torch and allow your eyes to adjust. Any pinpricks or patches of light coming through the roof structure indicate gaps, cracks, or missing tiles that need immediate attention.
Tracing the Leak Back to Its Source
One of the most important things to understand about roof leaks is that where you see the damage is rarely where the water is getting in. Water follows the path of least resistance — it can travel along rafters, felt, or insulation for a considerable distance before dripping down and appearing as a stain on your ceiling.
Working Uphill from the Stain
Start at the visible stain or drip point and work your way uphill (towards the ridge of the roof). Trace the wet trail along the rafters and felt, looking for where the moisture originates. The actual entry point is almost always higher up the roof than where the damage appears.
Checking Flashing and Valleys
Pay particular attention to any areas where the roof meets a vertical surface — around the chimney, along parapet walls, or at the edges of skylights. These are the most common entry points. Similarly, inspect the roof valleys carefully for signs of deterioration or debris build-up.
If you can safely view the roof from a window or from ground level using binoculars, look for any obviously displaced tiles, lifted flashing, or debris accumulation in the valleys.
Temporary Fixes vs Permanent Repairs
Once you’ve identified the approximate source of the leak, you may want to take temporary measures to limit further damage while you wait for a professional roofer.
Temporary Measures
- Roofing repair tape — self-adhesive bitumen tape can be applied to small splits or holes in roofing felt from inside the loft. It’s a short-term fix only, but can buy you time.
- Roof sealant — applied around flashings or small cracks, roof sealant can temporarily stem a leak. Again, this is not a permanent solution.
- Tarpaulin — if a large area of the roof is compromised (for example, after storm damage), a heavy-duty tarpaulin secured over the affected area can prevent further water ingress until repairs are carried out. Only do this if it can be done safely from a ladder without going onto the roof.
- Catching the drip — place buckets or trays to catch any active drips and protect your ceilings and floors from further water damage.
Why DIY Permanent Fixes on Pitched Roofs Are Risky
It can be tempting to try to fix a roof leak yourself, but working on a pitched roof is genuinely dangerous without the right training, equipment, and safety measures. Falls from roofs are a leading cause of serious injury and death among DIY enthusiasts in the UK. Beyond the safety risk, an improper repair can make the problem worse, void your home insurance, or mask a more serious underlying issue. For anything beyond the most minor maintenance at ground level, always engage a qualified roofer.
When to Call a Roofer
Signs the Job Is Beyond DIY
You should call a professional roofer if:
- You cannot safely identify the source of the leak from inside the loft
- The leak is active and causing significant water ingress
- There is visible structural damage to the roof timbers
- Multiple tiles or slates are missing or damaged
- The flashing around a chimney or skylight has failed
- You have any doubt whatsoever about working at height
What to Expect from a Professional Inspection
A reputable roofer will carry out a thorough inspection, typically from the roof itself using appropriate access equipment. They should provide you with a written report of their findings and a clear, itemised quote for any repairs. Be wary of any trader who insists on immediate payment or pressures you to agree to work on the spot.
Choosing a Reputable UK Roofer
When selecting a roofer, look for membership of the National Federation of Roofing Contractors (NFRC) — the UK’s largest roofing trade body. NFRC members are vetted for competence and adhere to a code of conduct. You can search for registered contractors on the NFRC website. Also check reviews on independent platforms, ask for references, and ensure the contractor carries adequate public liability insurance.
Act Promptly and Stay Safe
Finding a roof leak can feel daunting, but a methodical approach makes it manageable. Start safely from inside the loft, trace the water back to its source, and take sensible temporary measures to protect your home. Most importantly, don’t delay — the longer a leak is left, the more damage it causes and the more expensive the repair is likely to be.
When in doubt, call a professional. A qualified roofer can diagnose the problem accurately, carry out a safe and lasting repair, and give you peace of mind that your home is properly protected against the elements.