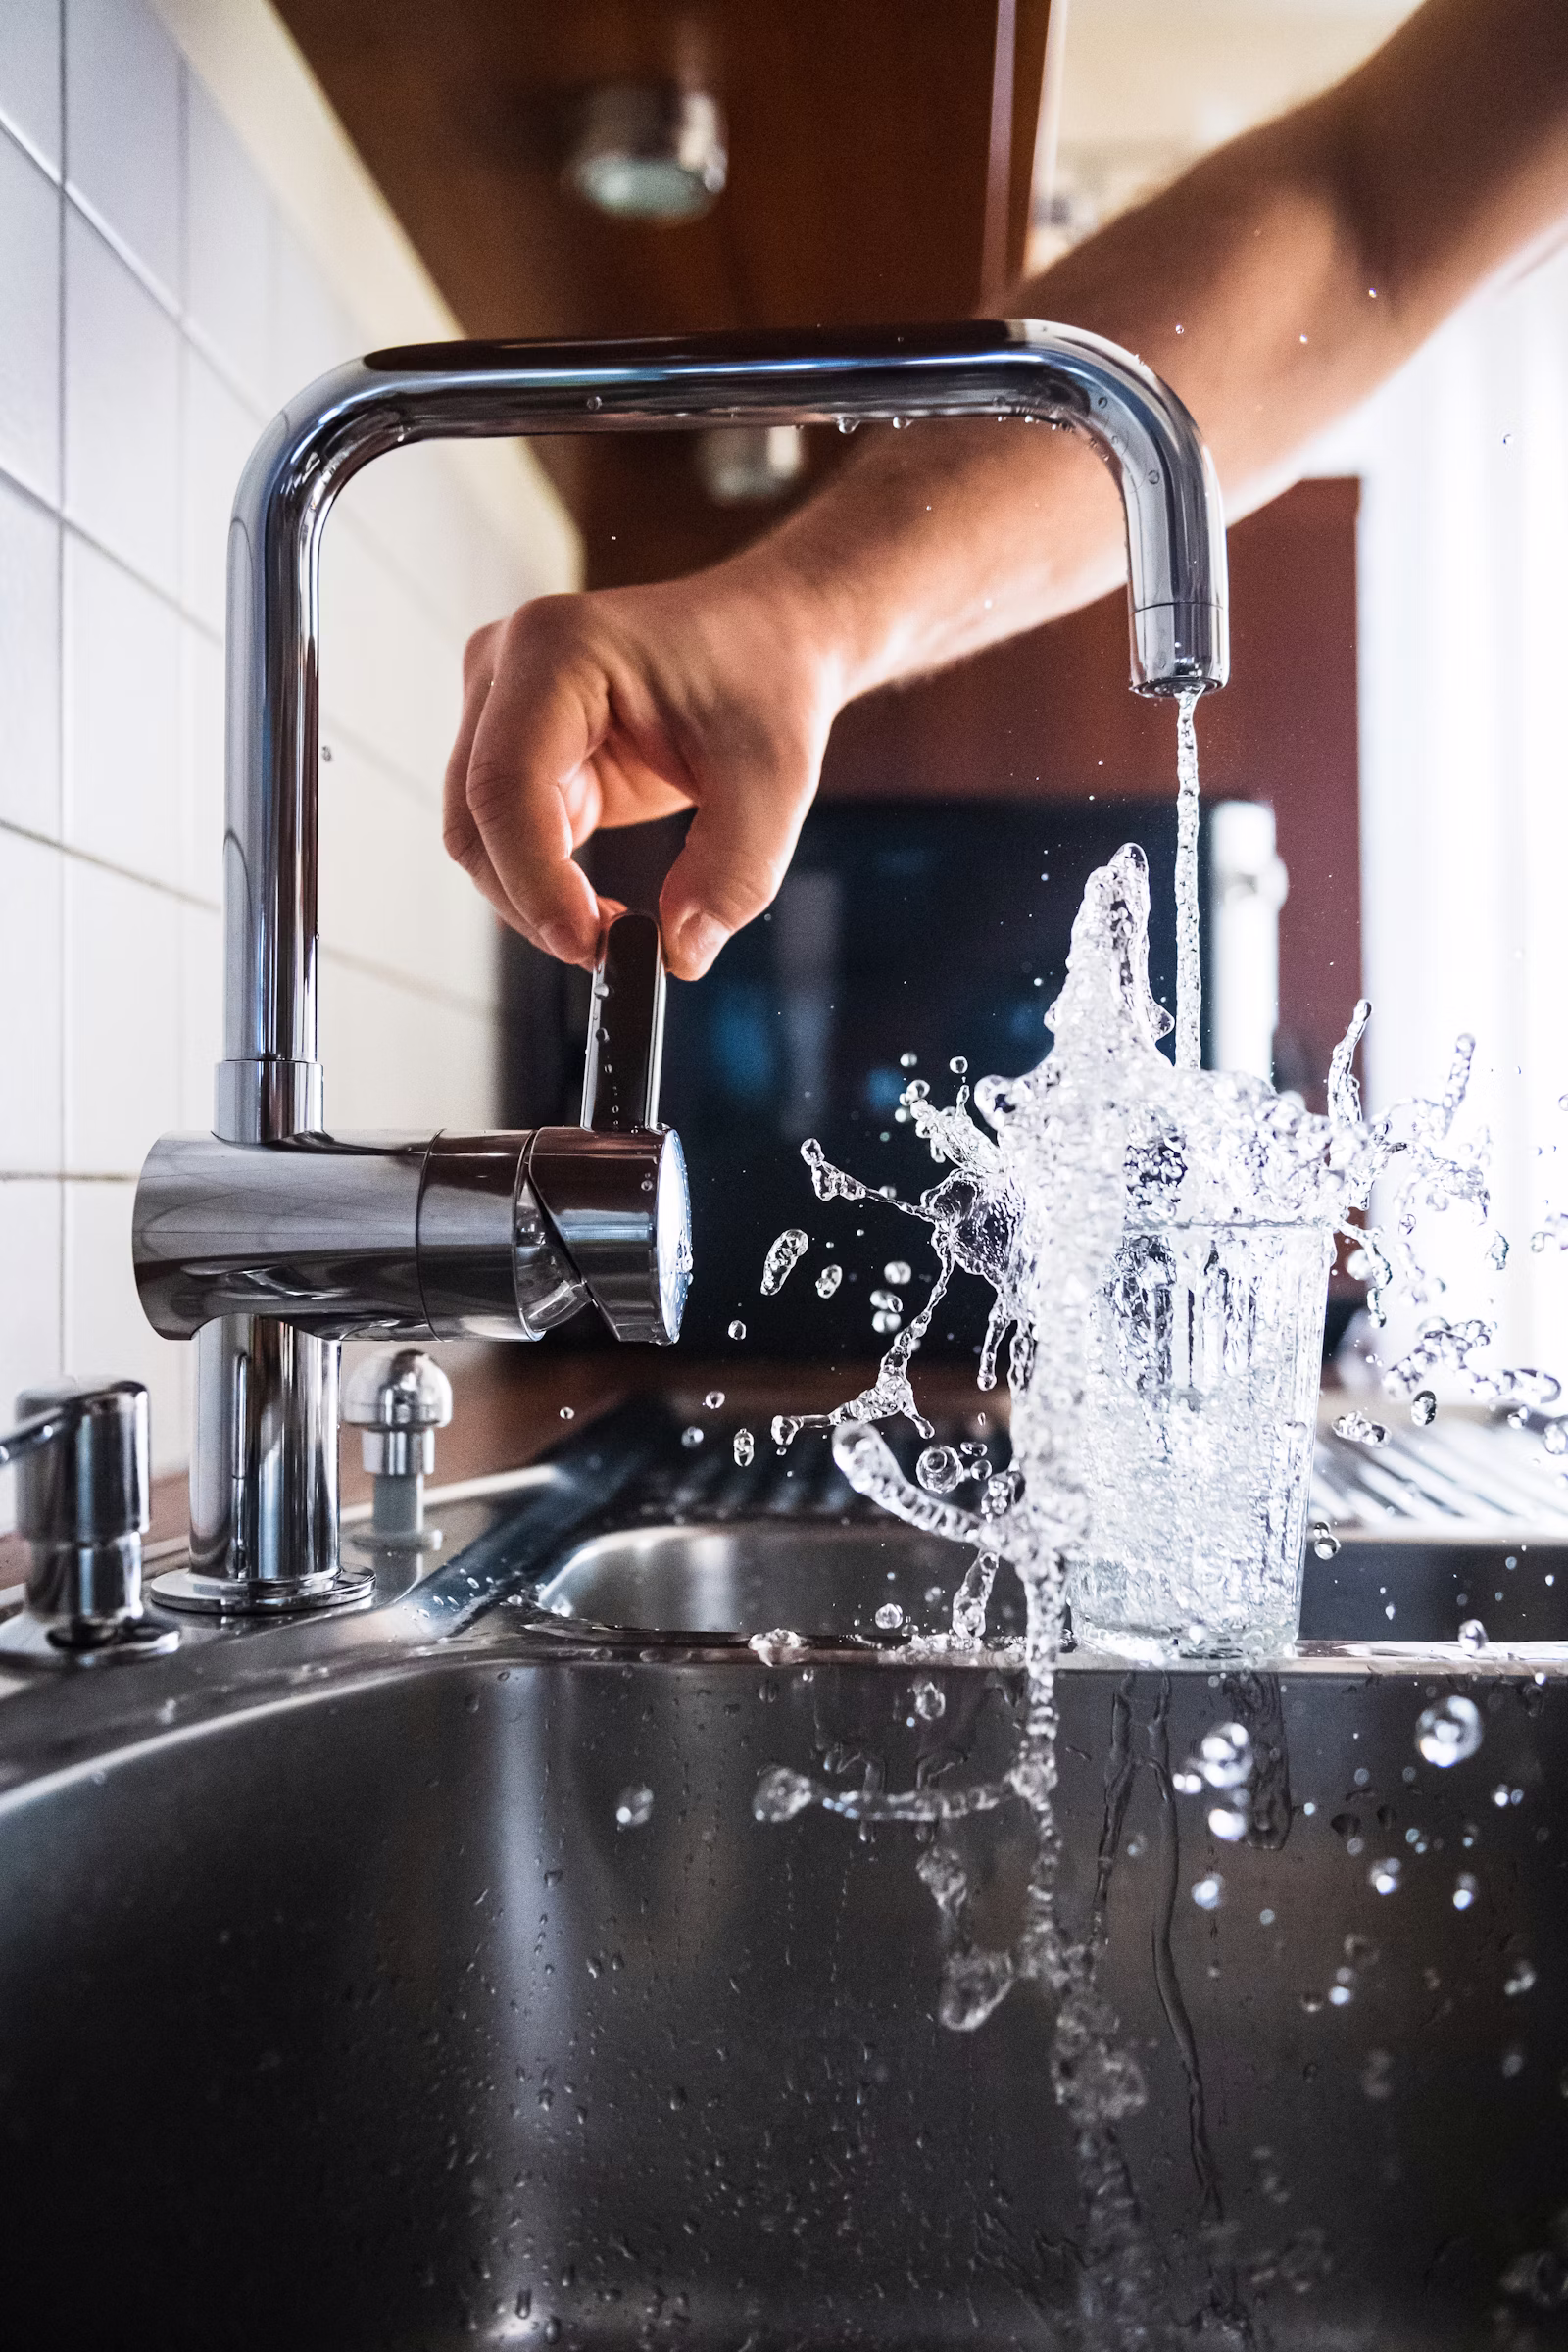
Why Fixing a Leaking Tap Matters
A dripping tap is one of the most common household problems in the UK — and one of the most overlooked. A tap that drips just once per second can waste more than 5,500 litres of water a year. That’s not just bad for the environment; it adds up on your water bill too.
The good news is that most tap leaks are straightforward to fix yourself, even if you have little DIY experience. With the right tools and a bit of patience, you can stop that drip in an afternoon and avoid an expensive plumber’s call-out fee.
Why Taps Leak
Understanding why your tap is leaking helps you choose the right repair. The most common causes are:
- Worn washer — The most frequent culprit in traditional pillar taps. Each time you turn the tap off, the rubber washer is pressed against a valve seat. Over time, this friction causes the washer to wear out, allowing water to seep through.
- Damaged O-ring — A small rubber ring that seals the spindle of the tap. When it deteriorates, water leaks around the base or handle of the tap rather than from the spout.
- Faulty cartridge — Modern mixer taps use a ceramic or brass cartridge instead of a washer. If the cartridge cracks or wears, the tap will drip or become difficult to control.
- Corroded valve seat — The valve seat connects the tap and the spout. Sediment build-up can cause corrosion, leading to leaks around the spout area.
- Loose packing nut — If water is leaking from around the handle, the packing nut may simply need tightening.
Tools You’ll Need
Before you start, gather the following tools and materials:
- Adjustable spanner
- Flat-head and cross-head screwdrivers
- Replacement washers or O-rings (take the old ones to a hardware shop to match the size)
- Replacement cartridge (for mixer taps — check your tap’s make and model)
- PTFE tape (plumber’s thread seal tape)
- Penetrating oil (e.g. WD-40) for stubborn fittings
- A bowl or towel to catch residual water
- Plumber’s grease
All of these are readily available at DIY stores such as B&Q, Screwfix, or Toolstation.
Step-by-Step: Repairing a Traditional Pillar Tap
Pillar taps are the classic separate hot and cold taps found in many older UK homes. Here’s how to fix a dripping pillar tap:
1. Turn Off the Water Supply
Locate the isolation valve on the supply pipe beneath the sink and turn it clockwise with a flat-head screwdriver until the slot is perpendicular to the pipe. If there is no isolation valve, turn off the mains stopcock — usually found under the kitchen sink or where the supply pipe enters your home.
Turn on the tap to release any remaining water pressure.
2. Remove the Tap Handle
Prise off the decorative cap on top of the tap handle (usually marked H or C). Underneath you’ll find a screw — remove it with a screwdriver and lift off the handle.
3. Unscrew the Packing Nut
Using your adjustable spanner, unscrew the large hexagonal packing nut (also called the gland nut) that holds the headgear in place. Turn anticlockwise. If it’s stiff, apply a little penetrating oil and wait a few minutes.
4. Remove the Headgear and Washer
Lift out the headgear assembly. At the bottom you’ll see the rubber washer, held in place by a small brass nut. Unscrew the nut, remove the old washer, and fit the new one. If the brass nut is corroded, replace the entire headgear.
5. Check the Valve Seat
Inspect the valve seat inside the tap body for pitting or corrosion. If it looks damaged, you can resurface it with a tap reseating tool, or replace the seat insert if your tap supports it.
6. Reassemble and Test
Reassemble in reverse order. Hand-tighten the packing nut first, then give it a quarter-turn with the spanner — do not overtighten. Restore the water supply and check for leaks.
Step-by-Step: Repairing a Modern Mixer Tap
Mixer taps combine hot and cold water through a single spout and are controlled by one or two levers. Most use a ceramic cartridge.
1. Turn Off the Water Supply
As above, close the isolation valves beneath the sink or turn off the mains stopcock. Open the tap to release pressure.
2. Remove the Handle
Look for a small decorative cap on the handle — prise it off to reveal a retaining screw. Remove the screw and pull the handle straight up and off.
3. Remove the Cartridge
You’ll see the cartridge held in place by a retaining nut or clip. Unscrew the nut anticlockwise with your adjustable spanner, then pull the cartridge straight out. Note its orientation before removing it.
4. Fit the Replacement Cartridge
Take the old cartridge to a plumbers’ merchant or search online using your tap’s brand and model number to find the correct replacement. Insert the new cartridge in the same orientation, ensuring any alignment tabs click into place.
5. Replace O-rings if Needed
While the tap is disassembled, inspect the O-rings on the cartridge body and spout. If they look cracked or flattened, replace them. Apply a thin coat of plumber’s grease before fitting.
6. Reassemble and Test
Refit the retaining nut, replace the handle, and restore the water supply. Test both hot and cold settings and check for leaks around the base and spout.
When to Call a Professional Plumber
While most tap repairs are well within the reach of a competent DIYer, there are situations where it’s best to call in a qualified plumber:
- The tap body itself is cracked or corroded beyond repair
- You cannot locate or operate the isolation valve or mains stopcock
- Water continues to leak after replacing the washer or cartridge
- The leak is coming from the supply pipes rather than the tap
- You are uncomfortable working near the mains water supply
- The tap is connected to a pressurised hot water system or combination boiler
A Gas Safe or WaterSafe-registered plumber will be able to diagnose and fix the problem quickly and safely.
Water Efficiency Tips
Once your tap is fixed, keep it in good working order and reduce your water usage with these simple tips:
- Check taps regularly — A quick inspection every few months can catch a worn washer before it becomes a drip.
- Install aerators — Tap aerators screw onto the spout and mix air with the water flow, reducing consumption by up to 50% without affecting water pressure.
- Don’t overtighten taps — Forcing a tap off hard accelerates washer wear. Turn off gently but firmly.
- Insulate your pipes — Frozen pipes can burst and cause leaks. Lag exposed pipes in unheated areas such as lofts and garages before winter.
- Consider a water meter — If you’re on a rateable value charge, switching to a water meter can save money and encourages more mindful water use.
- Report leaks promptly — If you spot a leak on a shared supply pipe or in the street, report it to your water company straight away.